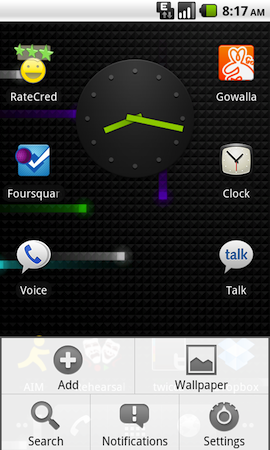
For starters, you need to make sure you have a Gmail account associated with your phone. To do this: press the menu button and go into “Settings.” From there, choose “Accounts & Sync.” Make sure that your Gmail account is listed at the bottom of this screen. If it isn’t, don’t panic, you can easily add it. Click “Add account” and choose “Google,” then follow the on-screen instructions to add or create a new account.

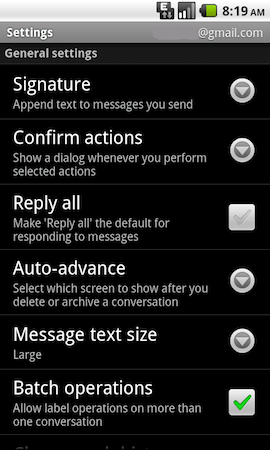
Now you’re ready to customize the way you send and receive Gmail messages. Touch the Gmail icon to get started. This will be either on your main desktop, or you can find it in the apps drawer—a red and white icon that looks like an envelope. Press the menu button and choose “More,” and then “Settings.” This will take you into the sending and receiving options for your Gmail account(s). The signature option will allow you to amend a small message to the end of each Gmail that you send. The Confirm action menu is there so you can set a confirmation message to appear before you delete, archive or send email. Auto advance lets you determine the next email you will see after you are done replying and/or reading a message.

“Batch operations,” the next item in the menu, is just fancy phrasing for being able perform one action on multiple messages at once. Deleting and archiving can be done by checking each email off and then choosing an action. Additional organization can be found with the “Labels” menu. You don’t need all labels to synchronize, but if you want super organization on the go, this is a good place to start. The “Email notifications” choice is for whether or not you want to receive an audible alert or vibration for each email. Without this enabled, you cannot adjust the rest of the notification settings. If “Notify once” is enabled, this means that your phone will only beep/buzz on the first email you receive; each additional message will be received silently. However, I find this to be a bit of a bother if my first email is at 4AM and I forget to check my phone until 3PM—I miss notifications for all emails in between. It’s my preference to keep this disabled.

After all the settings are fixed to your liking, you can start sending and reading your email! Hit the back button to return to your inbox. To read mail, just tap on the message you’d like to read. To send mail, press the Menu button and choose “Compose.” From there you can select recipients, give the message a subject, and type the body of your email. Sending is completed by pressing the “Send” button at the bottom, or if you made a mistake and don’t want to send an email, you can “Discard” it as well. Now you can communicate via Android’s Gmail app!